How to Customize Texts & Labels?
- Go to your WordPress dashboard.
- From the sidebar, navigate to Woocommerce > Settings > LWN Multi-Step Checkout
- Click on the Text & Labels Settings tab.
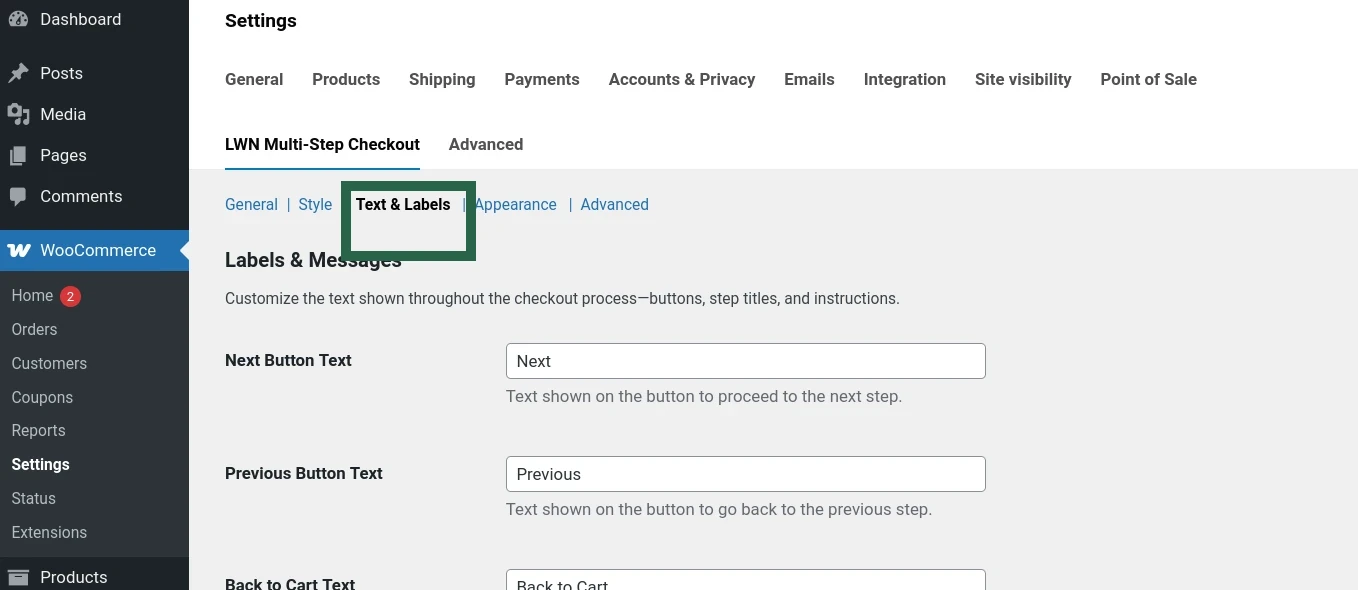
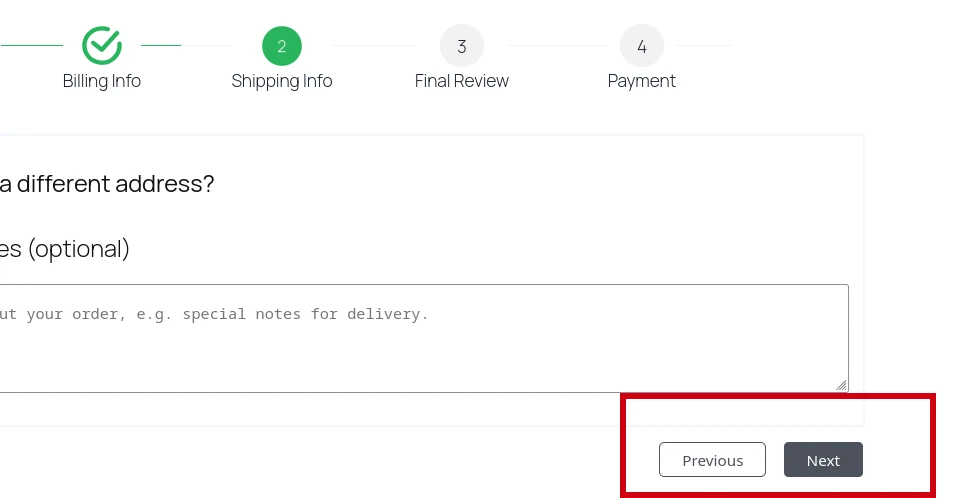
Next & Previous Button Text
Customize the text displayed on the navigation buttons during checkout.
- Next Button Text: The label shown on the button that moves the customer to the next step.
- Previous Button Text: The label shown on the button that takes the customer back to the previous step.
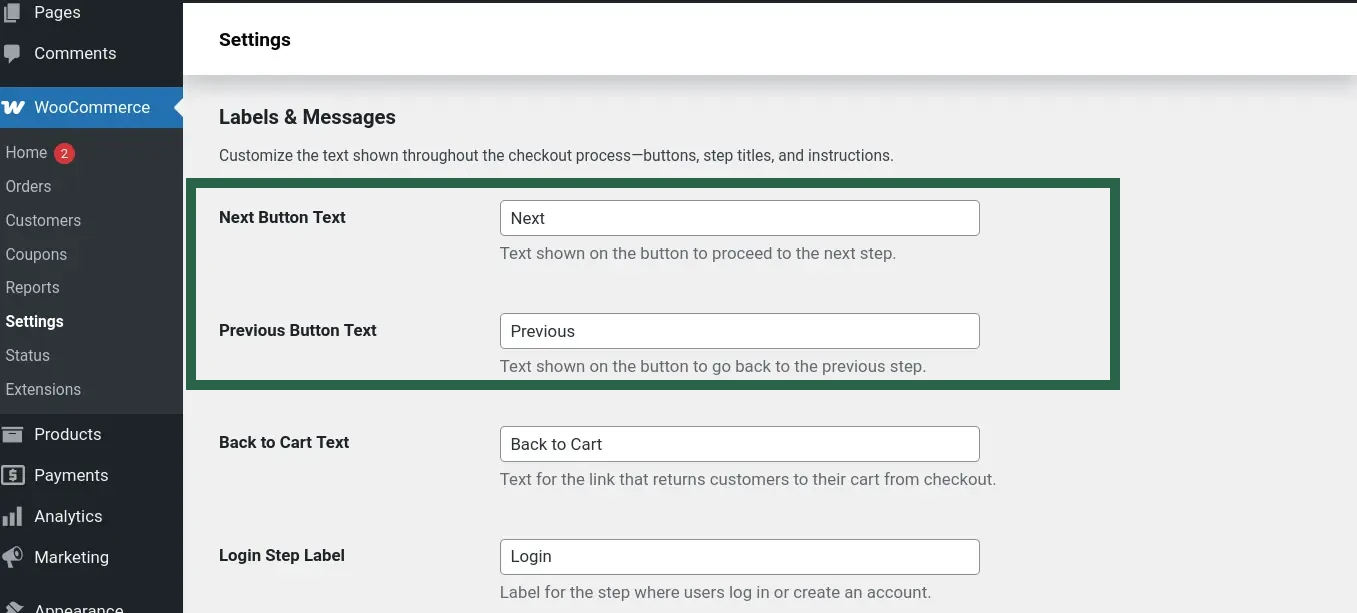
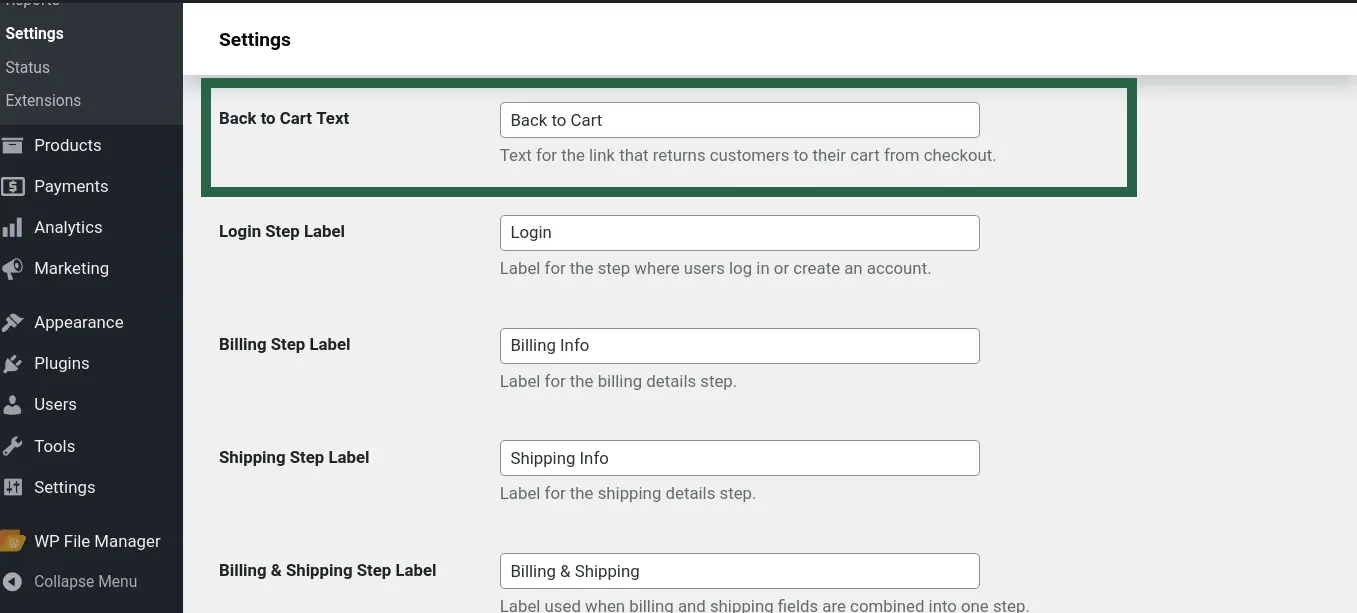
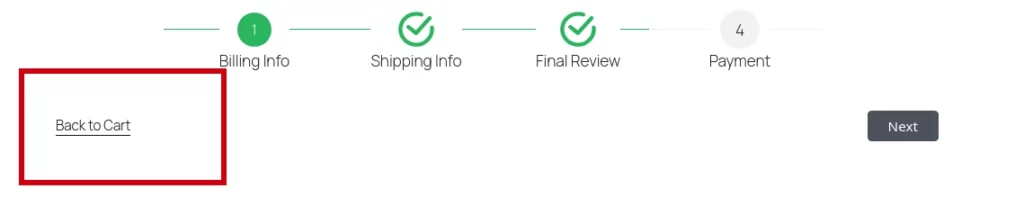
Back to Cart Text
Customize the text displayed for the link or button that allows customers to return from the checkout process back to their shopping cart.
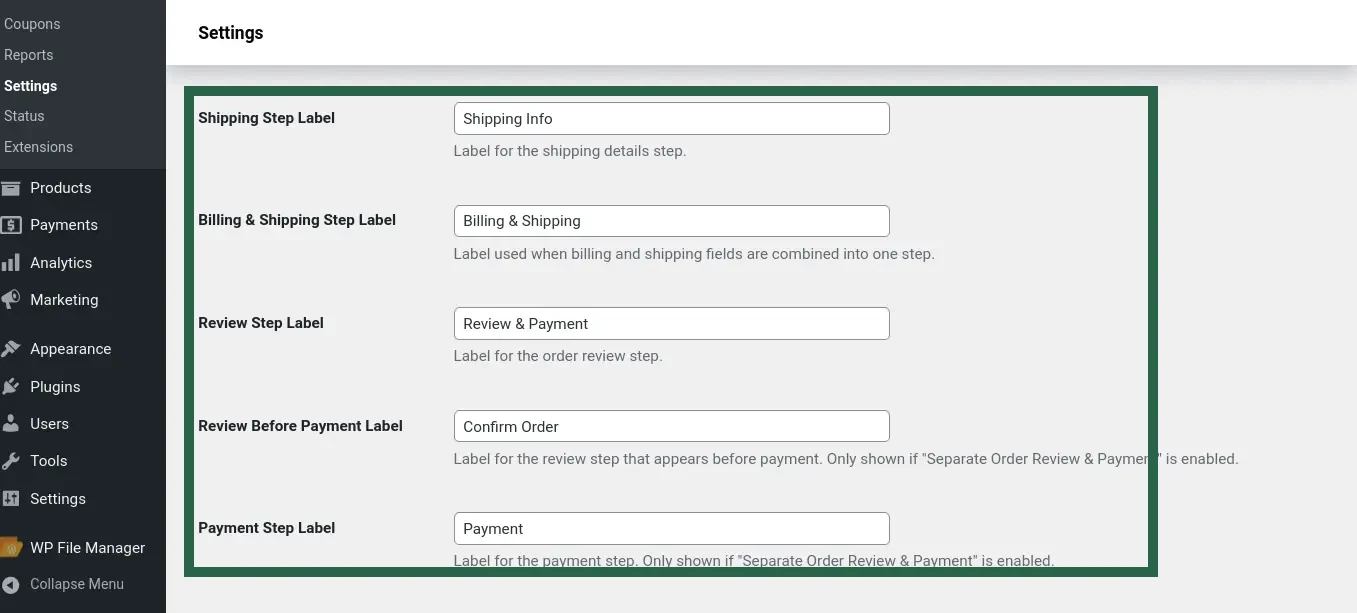
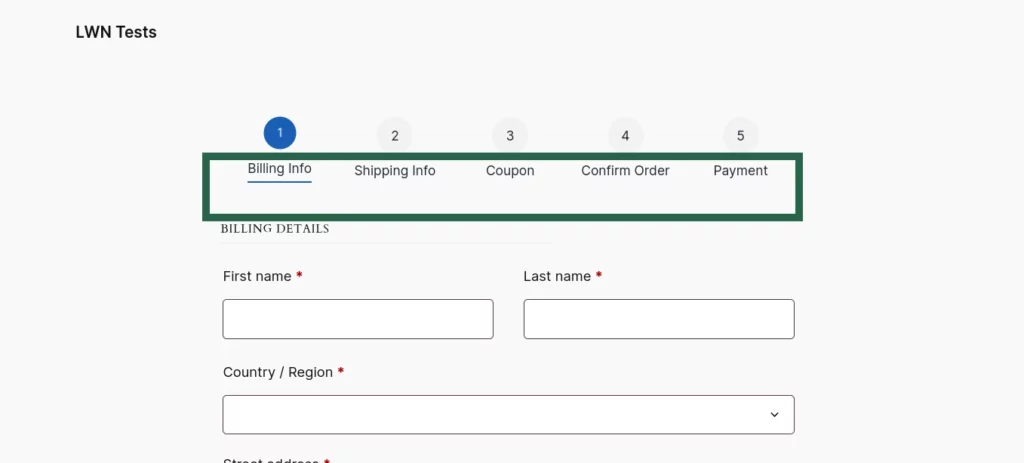
Customize Step Labels
Customize the labels for each step in the multi-step checkout process to match your store’s language and style. This includes labels for login, billing, shipping, order review, payment, and the dedicated coupon step (if enabled), helping customers clearly understand each phase of the checkout.
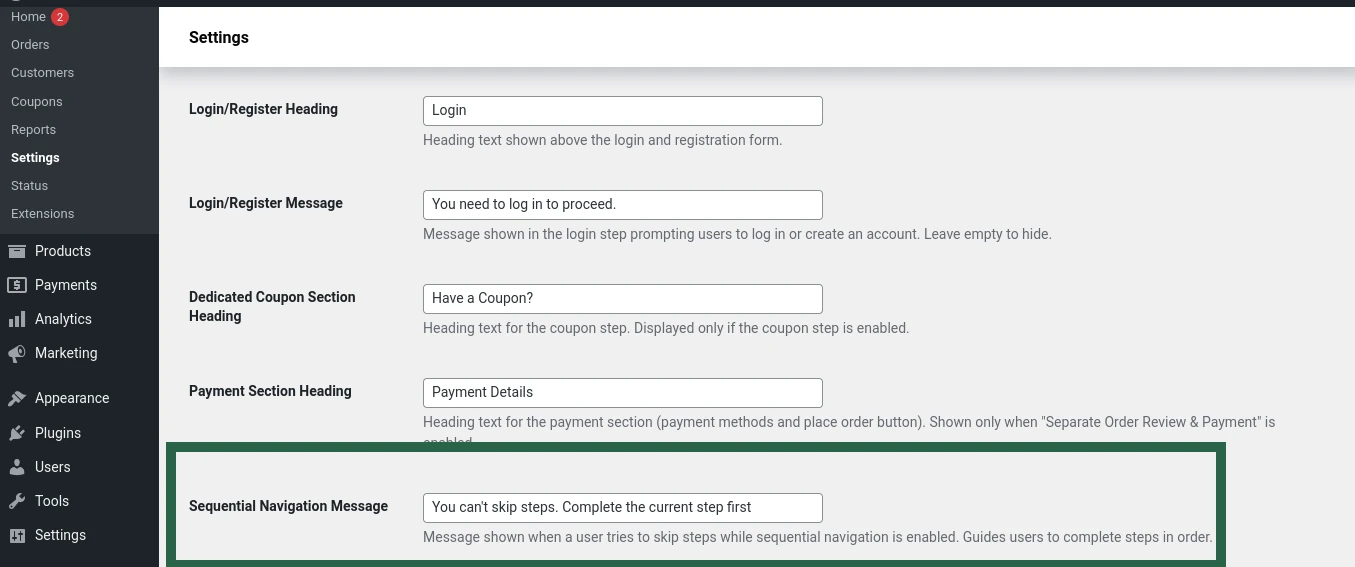
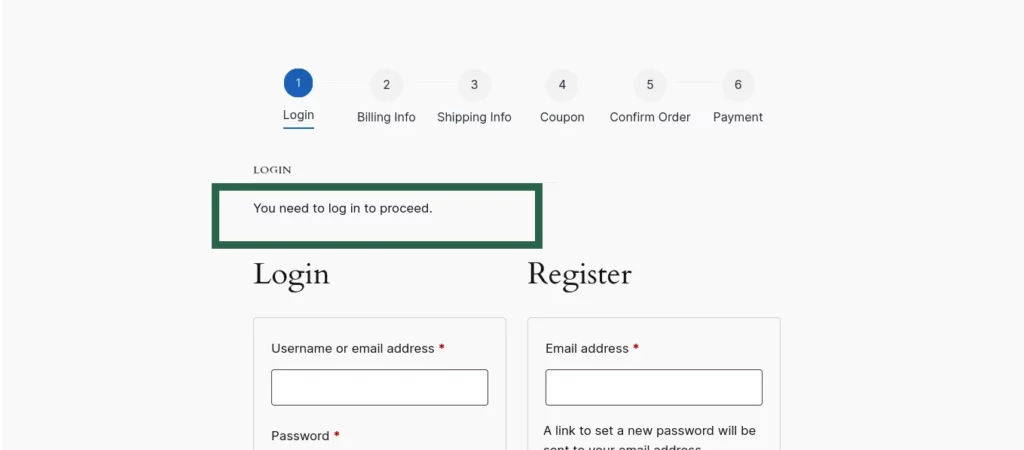
Login/Register Texts
Set the heading and message displayed in the login step of the checkout.
Login/Register Heading: Title shown above the login and registration forms.
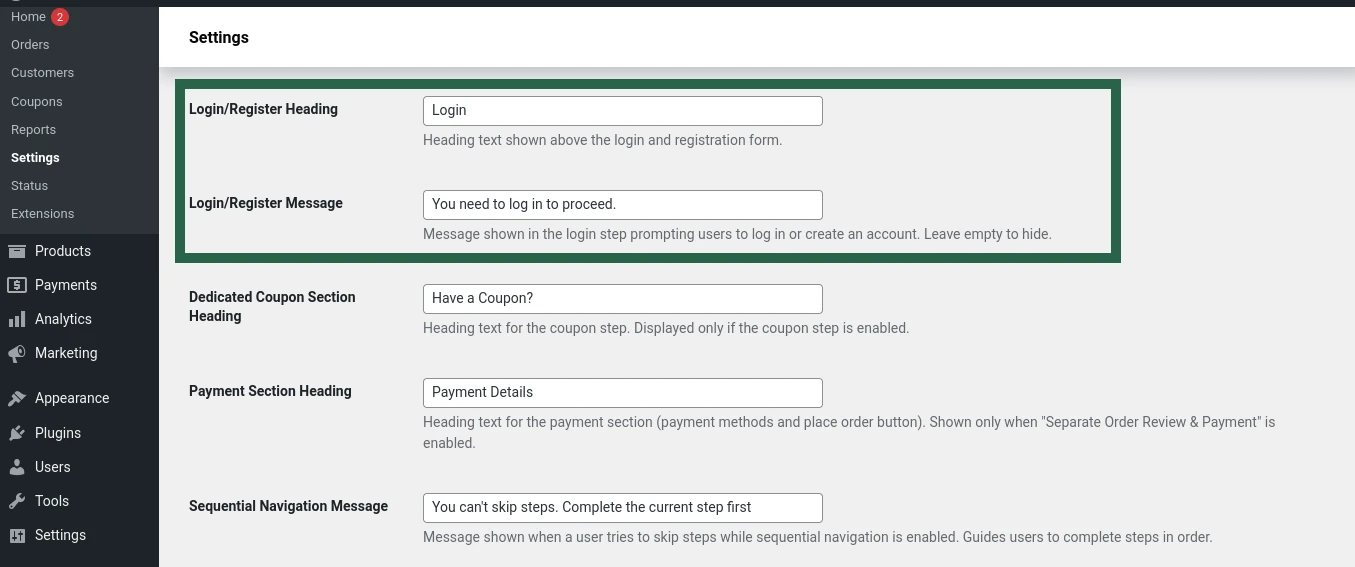
Edit the heading and message shown above the login and registration form.
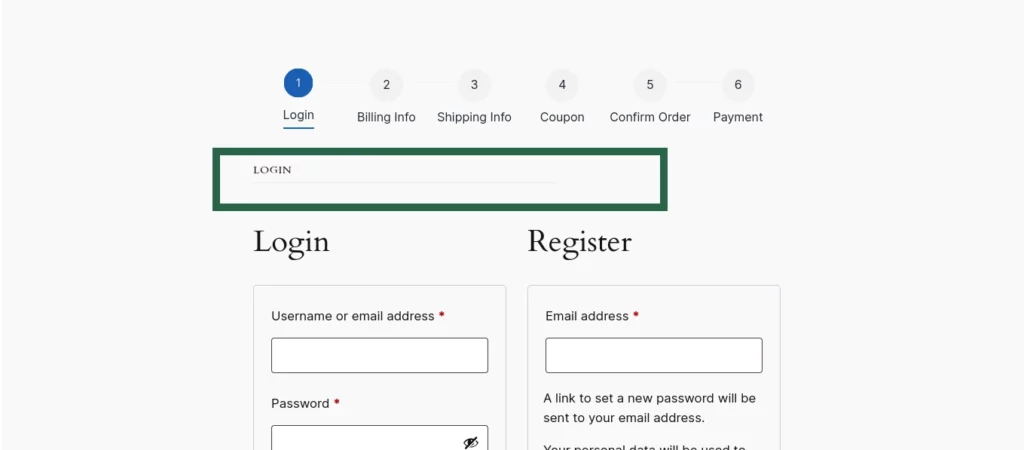
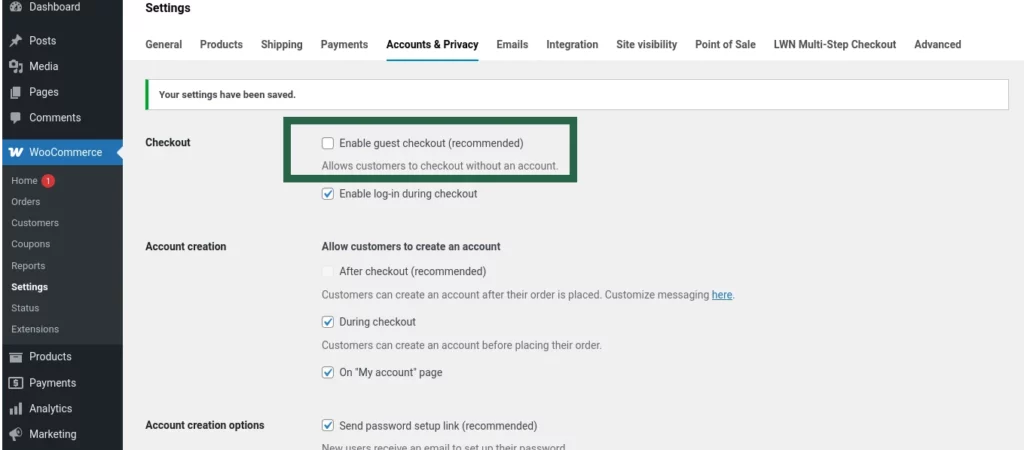
Login/Register Message: Message shown when guest checkout is disabled and a user attempts to proceed without logging in. Leave blank to hide this message.
Section Headings for Coupon & Payment
Customize the headings for key sections in the checkout flow:
Dedicated Coupon Section Heading: Title displayed at the top of the coupon step, shown only if the dedicated coupon step is enabled.
Payment Section Heading: Title for the payment methods and place order area, visible only when the Separate Order Review & Payment option is enabled.
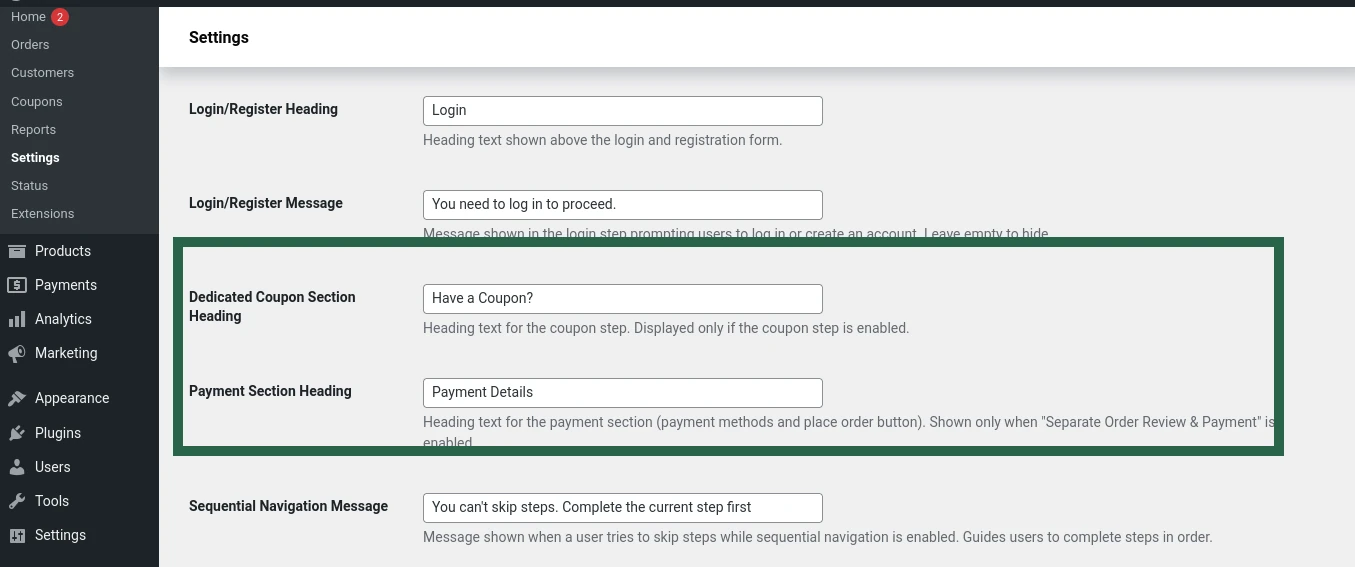
Sequential Navigation Message
Set the message displayed when a customer attempts to skip ahead in the checkout process while Force Sequential Checkout is enabled. This message reminds users to complete each step in order before proceeding.